Google Rating
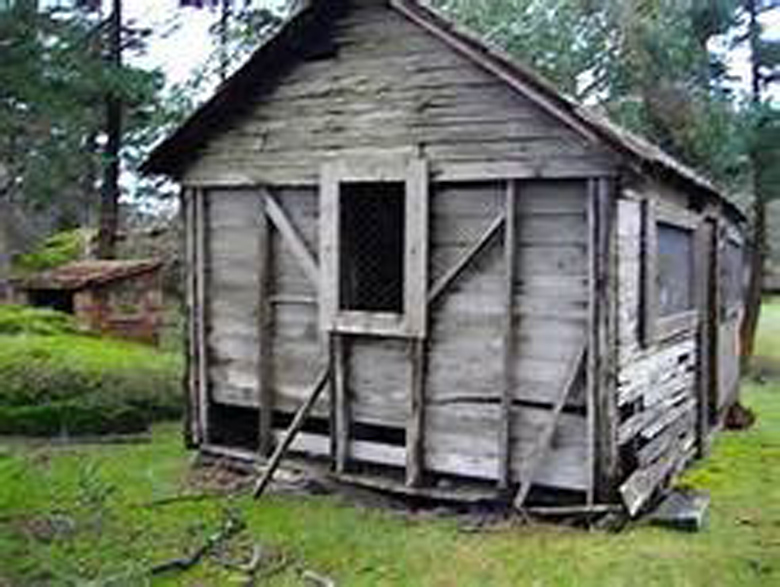
How to Properly Remove a Shed and Waste Disposal of Materials
Properly removing a shed that has either withered with time or is taking up needed yard space can appear to be a daunting task best left to professionals. However, with the right tools, knowledge and some elbow grease you will discover it is a Do It Yourself project. Outlined below are helpful hints and important steps to follow when deciding to take on this task.
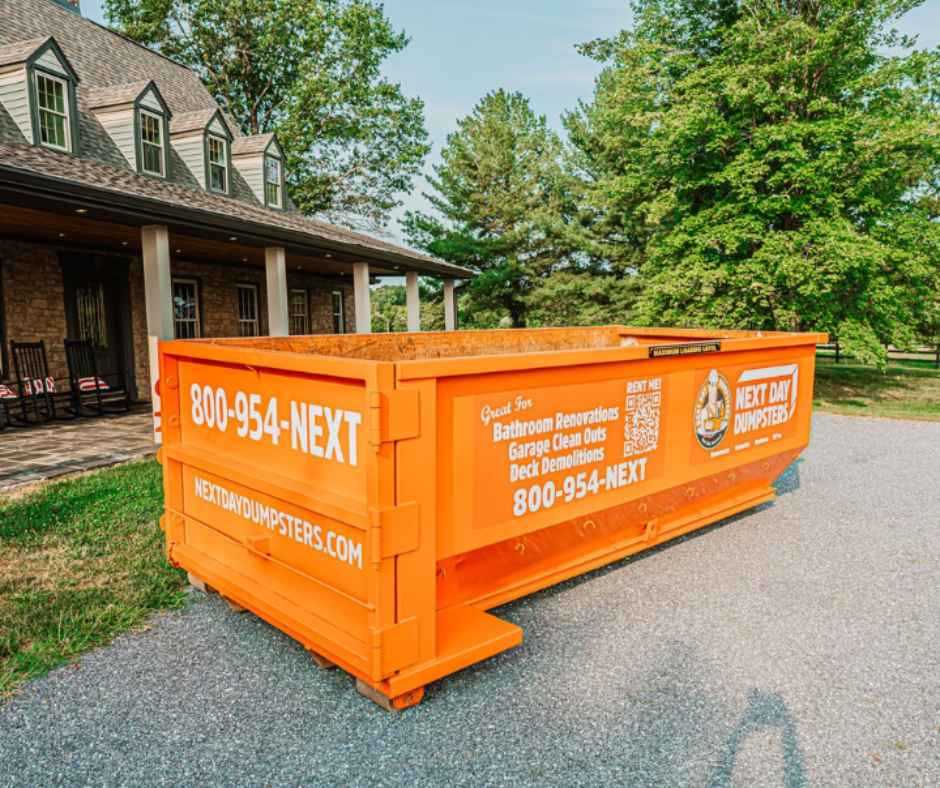
When beginning the project, it is important to consider the large amount of materials you will have remaining once the shed leveled, most of which will be waste materials. For your waste disposal, renting a dumpster at the start of the project allows you to keep your waste materials separate and out of the way as you go, keeping your workspace clean and safe.
In addition to the waste materials there will be some items worth saving. Go through the shed and note any items that should be saved either for re-use, re-sale, or recycling. Next, note any Hazardous Materials such as batteries, old paint or motor oil. These items require special steps or destinations for disposal. Check with your local community for more information on where to go. Finally, designate a safe out of the way place to store these various items that do not fall into the “waste materials” category.
Begin by turning off any power or other utilities that may have been run to the unit. Then go through and empty it of previously noted items. Start by removing all windows, doors and their frames. Then remove any fixtures or valuable hardware and add them to your stock-piles.
To bring the shed down, take a long, thick gauged rope and attach one end to the shed’s beam. Secure the other end to either a heavy piece of machinery or a pickup truck. The vehicle’s weight will be what levels the structure so it should be strong enough to handle the full weight of the shed. Make sure the area around the shed and the vehicle are clear with an extra set of eyes on the shed and drive slowly forward until it gives and comes down.
After the dust settles, take a careful look over the pile to remove any dangerous items and note where nails and other sharp items may be exposed. It is a good idea to cut down the large wooden beams to smaller, more manageable sizes with a chain saw. Hopefully you will discover good timber that can be saved and reused. Make a separate pile for this and any scrap metal you may come across that could be sold or recycled. Then you can begin your waste disposal by carefully hauling the remainder of the “Shed” into the dumpster. Eventually you will begin to see the ground where the shed once stood and will have saved the money of bringing in a professional.
Recent News
Do I Need a Dumpster Permit in Washington, D.C.?
Raleigh Dumpster Permit Requirements
Charlotte Dumpster Permit Requirements
Dumpster Rentals for Remodels: 5 Common Mistakes Homeowners Make (and How to Avoid Them)
Snow, Ice & Dumpsters: Tips for Safe Placement and Pickup in Winter Conditions

Can You Rent a Dumpster in Freezing Weather? What to Know About Winter Disposal Logistics
